 Sat, Apr 16, 2005 |
 Thu, Apr 28, 2005 |
 Thu, Apr 28, 2005 |
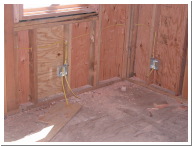
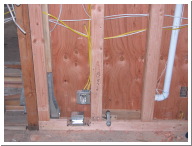
| The first electrical work starts. | The west end of the office. | South wall of the office. The outlet on the left is where I want to put a pinball machine. |
 Thu, Apr 28, 2005 |
 Thu, Apr 28, 2005 |
 Thu, Apr 28, 2005 |
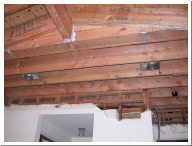
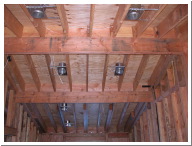
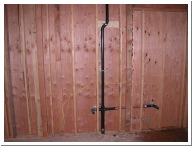
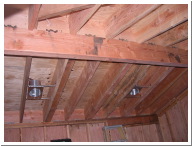
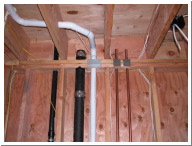
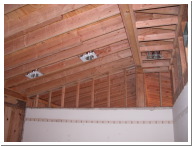
| The plumbing vent is from the kitchen below. Hot & cold lines and a drain are between the studs to the right just under the floor. This is in case anyone wants to turn this into 2 rooms with a Jack & Jill bathroom. | The cans on either side of the ridge are separately controlled. | East side of the office. Not all windows are installed yet. |
 Thu, Apr 28, 2005 |
 Thu, Apr 28, 2005 |
 Thu, Apr 28, 2005 |
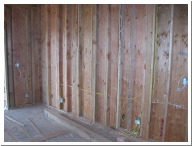
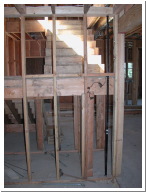
| Northwest side of the office. | Top of the stairs looking towards the office. | |
 Thu, Apr 28, 2005 |
 Thu, Apr 28, 2005 |
 Thu, Apr 28, 2005 |
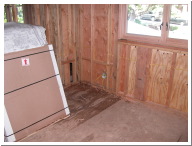
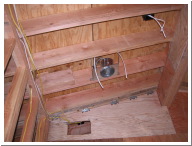
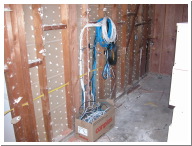
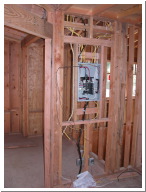
| The chimney is almost complete. | The hole was originally cut for the heating duct but it turns out the duct is being run outside the bedroom on the left side of the wall on the left. | The upstairs electrical sub-panel will go here. |
 Thu, Apr 28, 2005 |
 Thu, Apr 28, 2005 |
 Sat, Apr 30, 2005 |
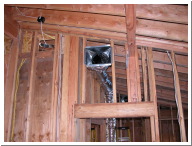
| Master bathroom sinks and electrical wires run. See the silver gas pipe? It's going to the fireplace in the master bedroom on the other side of the wall. | The light on the right will be inside the steam shower. | Heating duct in the office. |
 Sat, Apr 30, 2005 |
 Sun, May 22, 2005 |
 Sun, May 22, 2005 |
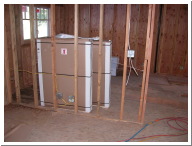
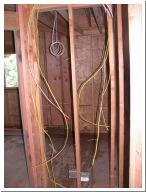
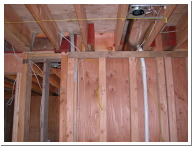
| The only place for the air intake to the upstairs heating unit is in the master suite hallway. Electrical wires are still being roughed in. | All of the phone, coax, and ethernet cables are routed to the garage. They will plug into patch panels here. | The plumbing is for the tankless water heater. The garage electrical sub-panel is one of three. |
 Sun, May 22, 2005 |
 Sun, May 22, 2005 |
 Sun, May 22, 2005 |
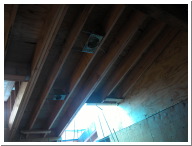
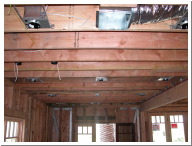
| The yellow strings depict the future ceiling beams. | The range centerline is right under a joist. The joist will have to be moved to accommodate a 10" vent. | Electrical and plumbing for the range. |
 Sun, May 22, 2005 |
 Sun, May 22, 2005 |
 Sun, May 22, 2005 |
| The range vent will have to pass through where the large drain and central vacuum pipes are currently located. | The rear of the main electrical panel. | |
 Sun, May 22, 2005 |
 Sun, May 22, 2005 |
 Sun, May 22, 2005 |
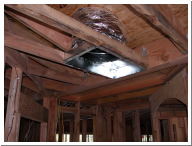
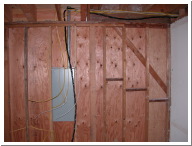
| I just liked this angle. It looks really cool. | The ceiling has an interesting shape in here since the ridge is off-center. | |
 Sun, May 22, 2005 |
 Sun, May 22, 2005 |
 Sun, May 22, 2005 |
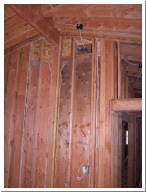
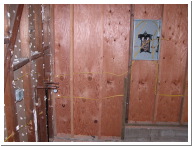
| A good view of the storage under the stairs. The black pipe is the gas line to the upstairs heating unit. | The kitchen is on the other side of this wall. | The upstairs electrical sub-panel. |