|
Click any picture to supersize it. Sorted by date. To see the latest pictures start at the last page and work your way backwards.
Fri, Apr 15, 2005
|
Fri, Apr 15, 2005
|
Sat, Jun 4, 2005
|
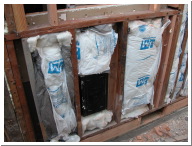
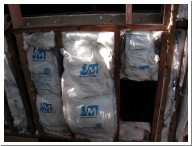
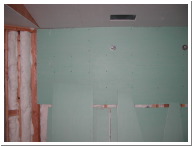
| The north side is being insulated. Behind the wainscoting in the bathroom is a Thermador heater I never knew about. I wonder if it still works. |
|
Office insulation |
Sat, Jun 4, 2005
|
Sat, Jun 4, 2005
|
Sat, Jun 4, 2005
|
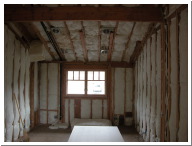
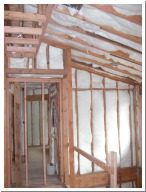
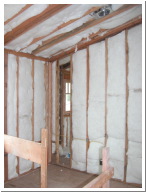
| Office insulation. See how the powder room vent turns at the top of the wall and continues along the ceiling? |
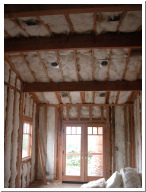
Insulation above stairs looking towards walk-in closet. |
Insulation above stairs looking towards walk-in closet. |
Sat, Jun 4, 2005
|
Sat, Jun 4, 2005
|
Sat, Jun 4, 2005
|
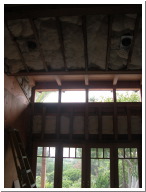
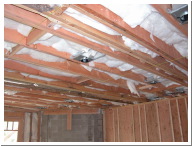
| Insulation above dormer in master bedroom. We're still waiting for the dormer windows. |
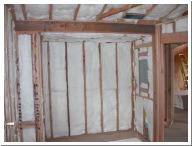
Insulation in walk-in closet. Back of the electrical sub-panel. Ventilation duct. |
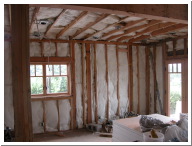
Insulation in living room. The yellow string is marking the position of the future beams. |
Sat, Jun 4, 2005
|
Sat, Jun 4, 2005
|
Sat, Jun 4, 2005
|
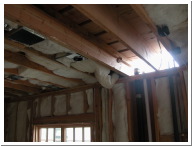
| Insulation in dining room. |
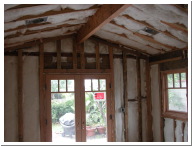
A joist in the kitchen was moved over to make room for a 10" duct for the range vent. The white central vacuum pipe was cut. Notice the two lights that will hang down over the counter on the right. |
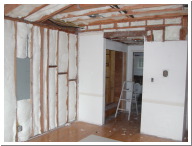
Insulation in the kids' bedroom (old master). It's coming together. |
Sat, Jun 4, 2005
|
Fri, Jun 17, 2005
|
Fri, Jun 17, 2005
|
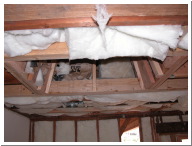
| Insulation in the kids' bedroom (old master). The gray panel on the left is the back of the master electrical panel. |
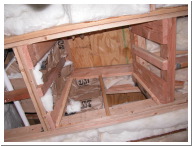
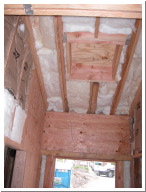
The skylight in the library is flared out from the roof to the ceiling. The cross-section is a trapezoid shape. |
Another view of the library skylight. |
Fri, Jun 17, 2005
|
Fri, Jun 17, 2005
|
Fri, Jun 17, 2005
|
| This is a 2 foot square skylight in the main entryway. |
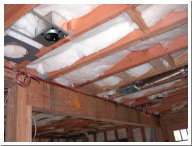
The insulation is in and around the lights and speaker brackets. |
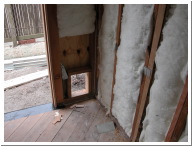
The cat door framing has been added in the laundry room. |
Fri, Jun 17, 2005
|
Fri, Jun 17, 2005
|
Fri, Jun 17, 2005
|
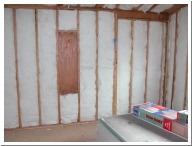
| A recessed ironing board is in the walk-in closet. |
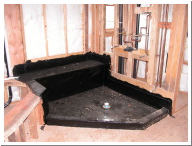
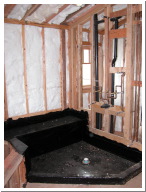
A nice view of the shower enclosure following the hot mop. See how the bench and the tub deck to the left are the same piece of wood. |
You can see all of the plumbing in the master shower here. There is a steam shower spray unit, steam control unit, 3 body sprays, a deluge (not rain) shower head, hand shower, thermostatic valve, and three volume control valves. |
Fri, Jun 17, 2005
|
Mon, Jun 20, 2005
|
Mon, Jun 20, 2005
|
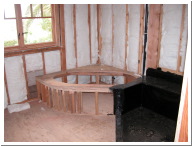
| The tub frame and shower are ready to be lathed prior to tiling. |
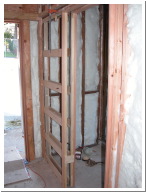
A pocket door has been installed for access to the powder room. |
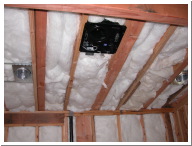
This monster fan in the master bath will suck out any steam from the shower in seconds. |
Mon, Jun 20, 2005
|
Mon, Jun 20, 2005
|
Mon, Jun 20, 2005
|
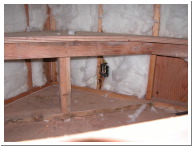
| The electrical outlet for the spa tub can be seen. |
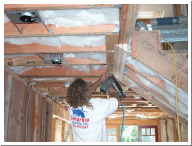
Finishing touches on the stairs. The wood triangle shape makes the stairs flow into the ceiling. |
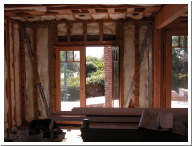
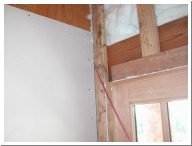
Wood framing has been added in front of the Hardy frames to give the drywall screws someting to attach to. |
Mon, Jun 20, 2005
|
Fri, Jul 1, 2005
|
Sun, Dec 25, 2005
|
| The rear, left speaker wire in the master bedroom. |
Insulation in the wall between the master bedroom and bathroom. |
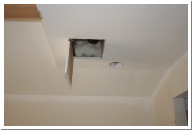
To install the master bath plumbing to the tub, a hole needed to be cut into the ceiling in the rear downstairs bedroom. |