 Wed, Mar 2, 2005 |
 Wed, Mar 2, 2005 |
 Thu, Mar 3, 2005 |
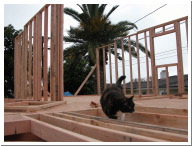
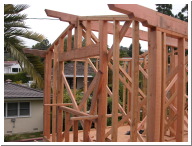
| The second floor framing begins. That's the master bath. | Chinook spends a lot of time up top now that there's a floor. | Master bath |
 Sat, Mar 12, 2005 |
 Sat, Mar 12, 2005 |
 Wed, Mar 16, 2005 |
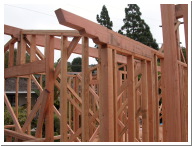
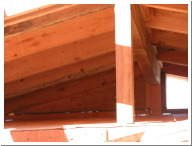
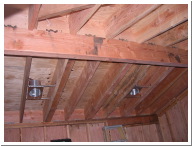
| See how the rafter is sandwiched into the structure. | ||
 Wed, Mar 16, 2005 |
 Tue, Mar 29, 2005 |
 Sat, Apr 9, 2005 |
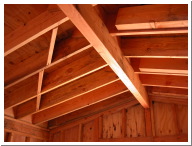
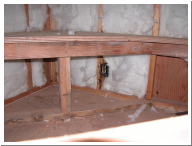
| The rafters are notched and overlay the ridge beam where they overlap at the top. A very strong structure. | Outside the master bath. That roof is sheeted and ready for the shingles. | Finishing the extended roofline over the master bath/walk-in closet. |
 Sat, Apr 9, 2005 |
 Sat, Apr 9, 2005 |
 Tue, Apr 12, 2005 |
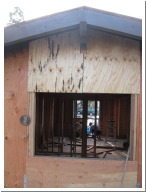
| Finishing the extended roofline over the master bath/walk-in closet. | Ceiling inside the master bath. | Standing on the roof looking into the master bathroom window. |
 Sat, Apr 16, 2005 |
 Tue, Apr 19, 2005 |
 Tue, Apr 19, 2005 |
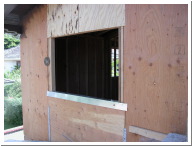
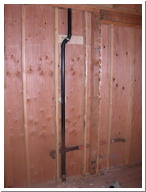
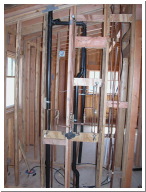
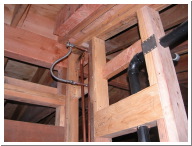
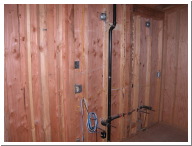
| Master bath window | Sink plumbing in the master bathroom. | Vent pipes for the downstairs bathroom. |
 Thu, Apr 28, 2005 |
 Thu, Apr 28, 2005 |
 Sat, Apr 30, 2005 |
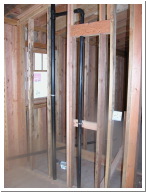
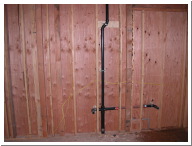
| Master bathroom sinks and electrical wires run. See the silver gas pipe? It's going to the fireplace in the master bedroom on the other side of the wall. | The light on the right will be inside the steam shower. | The plumbing vent is coming from the master bathroom sinks |
 Sun, May 22, 2005 |
 Fri, May 27, 2005 |
 Fri, May 27, 2005 |
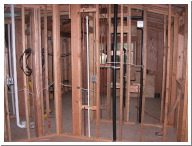
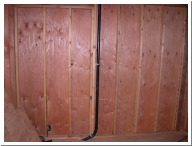
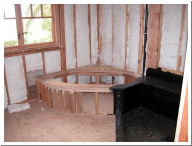
| The shower layout prior to moving the body sprays lower. | In the closet looking towards the master bath. The white pipe on the left is the central vacuum. | A cabinet will go up here to support Mr. Steam. |
 Fri, May 27, 2005 |
 Fri, May 27, 2005 |
 Fri, May 27, 2005 |
| All of the plumbing and electrical needs to shift left. | Vent pipe. This is the pipe where the water will first overflow if the system backs up. The outlet will power the spa tub. | The master bath shower layout was tweaked several times. |
 Fri, Jun 17, 2005 |
 Fri, Jun 17, 2005 |
 Fri, Jun 17, 2005 |
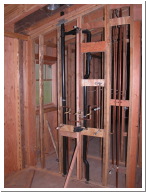
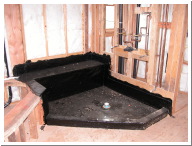
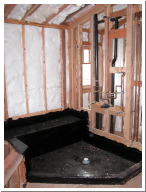
| A nice view of the shower enclosure following the hot mop. See how the bench and the tub deck to the left are the same piece of wood. | You can see all of the plumbing in the master shower here. There is a steam shower spray unit, steam control unit, 3 body sprays, a deluge (not rain) shower head, hand shower, thermostatic valve, and three volume control valves. | The tub frame and shower are ready to be lathed prior to tiling. |
 Mon, Jun 20, 2005 |
 Mon, Jun 20, 2005 |
 Fri, Jul 1, 2005 |
| This monster fan in the master bath will suck out any steam from the shower in seconds. | The electrical outlet for the spa tub can be seen. | The entire master bathroom is covered in fire rated drywall. |