 Wed, Jan 12, 2005 |
 Wed, Jan 12, 2005 |
 Sat, Jan 15, 2005 |
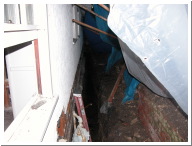
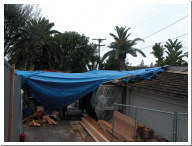
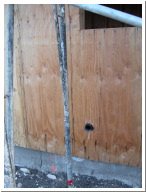
| This is the window I had to use to get in. This trench is for the foundation reinforcements on the north side of the house. It's a few inches deep in water from the last few weeks of rain. | The back is no better than the front. | |
 Sat, Jan 15, 2005 |
 Tue, Jan 25, 2005 |
 Wed, Jan 26, 2005 |
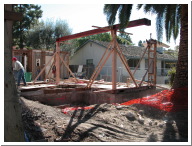
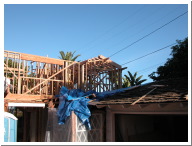
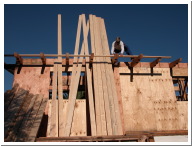
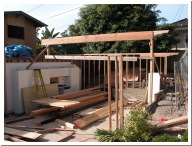
| It took a crane and a group of guys to get this 1200 pound, 22 ft. beam in place. The upstairs deck will be supported by the beam. | The 9 foot tall exterior wall was put in place today. This is the outside wall for the kitchen and dining room. | It rained again! |
 Wed, Mar 2, 2005 |
 Wed, Mar 9, 2005 |
 Wed, Mar 9, 2005 |
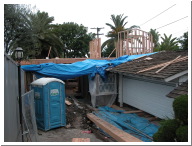
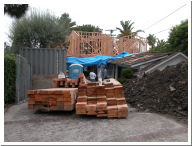
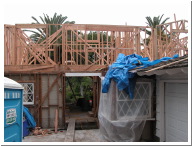
| The second floor framing begins. That's the master bath. | Dropped off a load of rafters. | The rain never stops! |
 Wed, Mar 9, 2005 |
 Wed, Mar 9, 2005 |
 Sat, Mar 12, 2005 |
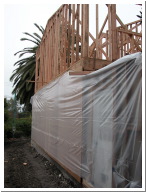
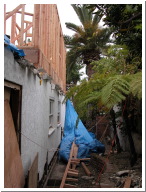
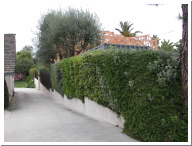
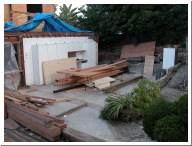
| The second floor is taking shape. Let's get that roof on before the next rain. | The north side of the house is still a mess. | The view from my neighbor's driveway. I'm taking the hedge out. |
 Tue, Mar 15, 2005 |
 Tue, Mar 29, 2005 |
 Tue, Mar 29, 2005 |
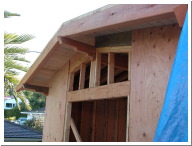
| Bruce starts to put the tongue & groove (T&G) on the front of the second story roof. | Outside the master bath. That roof is sheeted and ready for the shingles. | |
 Sat, Apr 9, 2005 |
 Tue, Apr 12, 2005 |
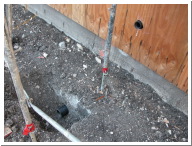
 Tue, Apr 12, 2005 |
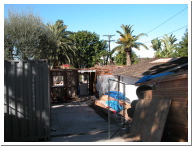
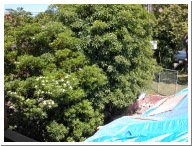
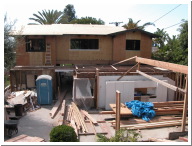
| Those trees will be gone soon. | Since the palm tree damaged the main drain pipe under the house, a new pipe is being run out through the foundation under the kitchen and then down the side of the house. | Kitchen sink vent access. |
 Wed, Apr 13, 2005 |
 Thu, Apr 14, 2005 |
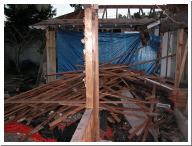
 Fri, Apr 15, 2005 |
| I came home and the garage was gone. | The new garage beam is in place. It's about 1 to 2 feet above the old ridge height in order to get the roof to end at the correct wall height at the end of the rafters. | The window flashing is being put into place. The large beam going through the front door is the header beam for the front of the garage over the garage door. |
 Sat, Apr 16, 2005 |
 Sat, Apr 16, 2005 |
 Tue, Apr 19, 2005 |
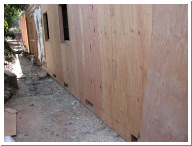
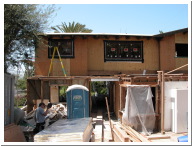
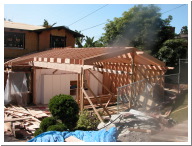
| Notice all of the vents. We need 1 square foot of venting for every 150 square feet of first floor coverage. | Windows are looking good! | The garage roof takes shape. The roof was simplified so that the front patio overhang flowed into the garage roof at the same elevation. This required the garage ridge to be raised about 18". |
 Tue, Apr 19, 2005 |
 Sat, Apr 23, 2005 |
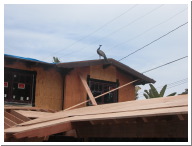
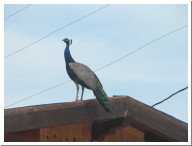 Sat, Apr 23, 2005 |
| A lone peacock on top of the house. The sheeting has started on the roof. | ||
 Sat, Apr 23, 2005 |
 Sat, Apr 23, 2005 |
 Tue, Apr 26, 2005 |
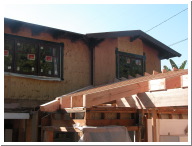
| Barge rafters installed. | Laying the barge rafters over the front patio. | View looking straight down the garage ridge. I was looking at the proportions compared to the window and roof above. |