 Fri, Jun 17, 2005 |
 Mon, Jun 20, 2005 |
 Mon, Jun 20, 2005 |
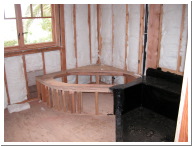
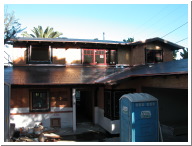
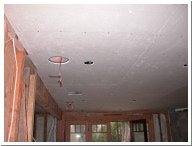
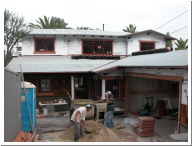
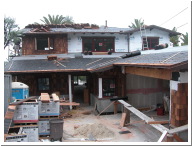
| The tub frame and shower are ready to be lathed prior to tiling. | The latest front view showing the copper on the roof. | The garage was first to be drywalled. See the cement block from the 1957 house. My contractor said they went really cheap there and should have built it all to the same height. This would have prevented the dryrot when they backfilled the wall with dirt. |
 Mon, Jun 20, 2005 |
 Mon, Jun 20, 2005 |
 Mon, Jun 20, 2005 |
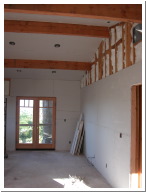
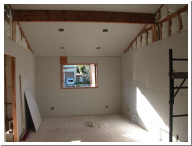
| A pocket door has been installed for access to the powder room. | The office drywalling starts. | Office looking towards the street. |
 Mon, Jun 20, 2005 |
 Mon, Jun 20, 2005 |
 Fri, Jul 1, 2005 |
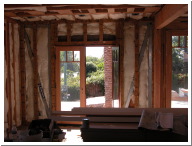
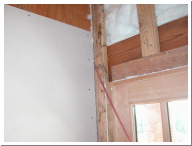
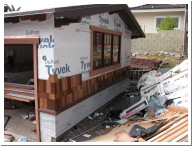
| Wood framing has been added in front of the Hardy frames to give the drywall screws someting to attach to. | The rear, left speaker wire in the master bedroom. | Bill Barr is removing the siding. They had just started to put it up when I noticed that the bottom of the window trim was 1-1/2" short. See the patch on the right side of the sill compared to the untouched left side. |
 Fri, Jul 1, 2005 |
 Fri, Jul 1, 2005 |
 Fri, Jul 1, 2005 |
| Trying to decide on shigles or wood to finish out this corner. | The cat will enter into the bottom of a cabinet. | Speaker wires show the future in-ceiling speakers. |
 Fri, Jul 1, 2005 |
 Fri, Jul 1, 2005 |
 Fri, Jul 1, 2005 |
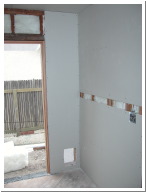
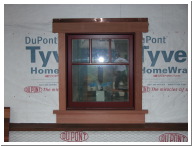
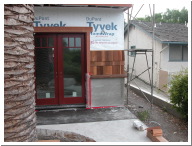
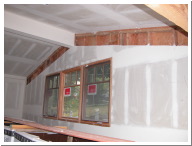
| The entire master bathroom is covered in fire rated drywall. | The fixed window trim. The top and bottom pieces are 2x6's and the side pieces are 2x4's. The overhang is 3" to line up with the 3" overhang on the sill. The bottom trip piece is out 1-1/2". | The siding is starting to go up around the garage. |
 Fri, Jul 1, 2005 |
 Thu, Jul 7, 2005 |
 Thu, Jul 7, 2005 |
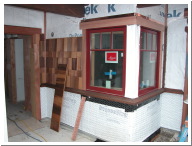
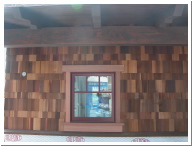
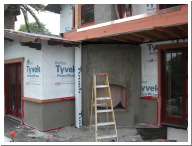
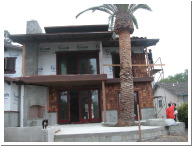
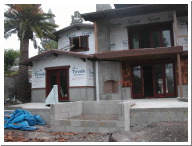
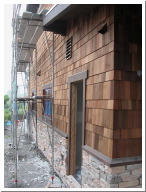
| There's a variety of shingle colors here. The cedar shingles are stained with a clear finish and can't be restained until the current stain breaks down enough in June 2006. We'll see... | Mixing up cement to cover the lower part of the walls in preparation of the stone. | Southern Rustic Ledgestone will start to go on this Wednesday, July 13th. Copper flashing has been placed on the balcony. The gas key to the fireplace is on the lower right wall. |
 Thu, Jul 7, 2005 |
 Thu, Jul 7, 2005 |
 Thu, Jul 14, 2005 |
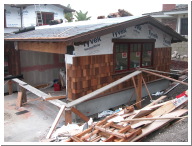
| There is an electrical outlet and natural gas line in the lower part of the wall. I'm going to put my BBQ here. | The shingles start to wrap around to the back. | The siding is started on the second story. |
 Thu, Jul 14, 2005 |
 Thu, Jul 14, 2005 |
 Thu, Jul 14, 2005 |
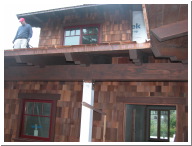
| Siding in front of the garage. | Some touch up work with the roof required some drywall to be removed. | Dave Barr waits for another piece of siding from his father, Bill Barr. |
 Thu, Jul 14, 2005 |
 Thu, Jul 14, 2005 |
 Thu, Jul 14, 2005 |
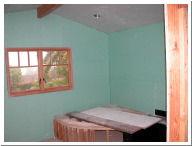
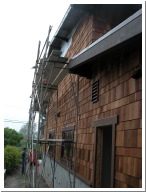
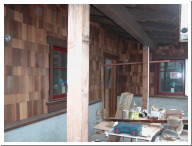
| The siding started on the front, moved to the side, and is now coming around to the back. This ensures that a shingle on one side of the house is at the identical height as one on the other side. | The hot tub will slide straight into this slot. | The white space at the top of the shingles will be horizontal siding. The copper vents are starting to patina. The lower wall is ready for the stone. |
 Thu, Jul 14, 2005 |
 Thu, Jul 14, 2005 |
 Wed, Jul 27, 2005 |
| The front patio is looking great! There is so much to look at. See the mockup of stone to the left of the doorway? | Another section of shingles has been completed. I don't think it's too busy but rather very detailed. | All siding is up and it looks great! |