|
Click any picture to supersize it. Sorted by date. To see the latest pictures start at the last page and work your way backwards.
Thu, Dec 23, 2004
|
Thu, Dec 23, 2004
|
Thu, Dec 23, 2004
|
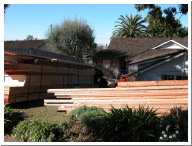
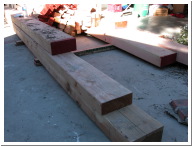
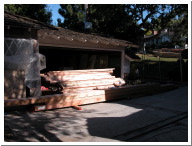
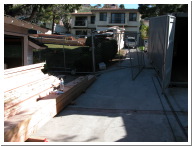
| A ton of lumber was just dropped off. |
There are quite a few 20-foot long 6 x 12 beams in here. |
|
Thu, Dec 23, 2004
|
Sat, Jan 15, 2005
|
Wed, Jan 19, 2005
|
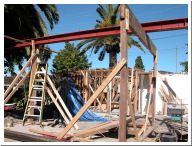
| There's lumber everywhere! |
It took a crane and a group of guys to get this 1200 pound, 22 ft. beam in place. The upstairs deck will be supported by the beam. |
|
Tue, Jan 25, 2005
|
Tue, Jan 25, 2005
|
Tue, Jan 25, 2005
|
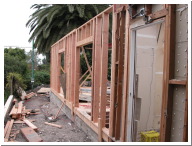
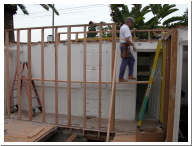
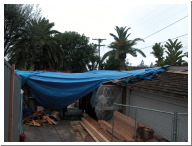
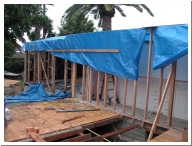
| The 9 foot tall exterior wall was put in place today. This is the outside wall for the kitchen and dining room. |
This wall is actually made of 2 x 6's. The foundation wall was not straight so there was a 2" overhang at the base of one end of the wall when it was erected. The overhang is still there but now 4" of the stud is supported instead of only 2". |
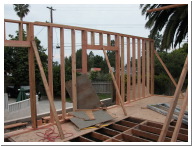
We removed the wall between the living room and hallway in order to build a 9' wall instead of an 8' with a 1' mini wall on top. The hallway wall being worked on was 1" different in height from one end to the other. |
Wed, Jan 26, 2005
|
Wed, Jan 26, 2005
|
Mon, Jan 31, 2005
|
| It rained again! |
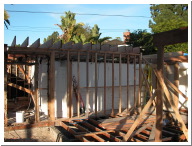
We can't save the living room floor so they aren't even trying to protect it anymore. |
The second floor joists went up today over the existing master bedroom and bathrooms. The new master bath will be above this. |
Mon, Jan 31, 2005
|
Mon, Jan 31, 2005
|
Mon, Jan 31, 2005
|
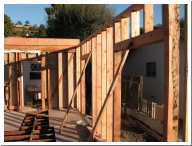
| Another view of the dining room/kitchen wall. |
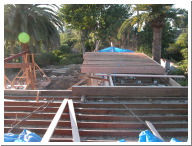
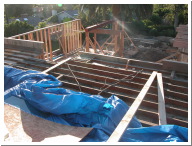
From the roof of my garage you can see the new second floor joists and in the foreground, the existing rooms we are saving as evidenced by the plaster oozing through the holes. |
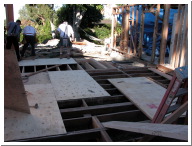
A bird's-eye view of the living room and dining room. |
Thu, Feb 3, 2005
|
Thu, Feb 3, 2005
|
Thu, Feb 3, 2005
|
| Starting to cover the floor now that the concrete has been poured. That's 15 cement trucks to date just to underpin the foundation. More to come. |
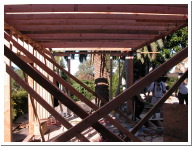
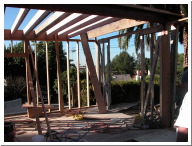
The side bracces will stay here until the second floor is sheeted with plywood. |
Starting to put the second floor joists in place. |
Thu, Feb 3, 2005
|
Thu, Feb 3, 2005
|
Thu, Feb 3, 2005
|
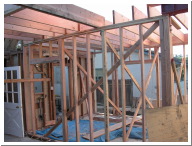
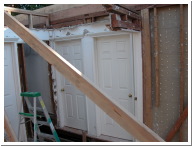
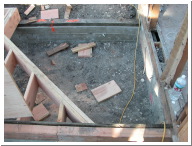
| The post supporting the steel beam is 6" thick. The wall will be 6" across the entire length to match it. |
The staircase will go here but there is some discussion as to moving the door on the right a few inches down to allow for a larger landing. |
Framing around the living room fireplace. |
Thu, Feb 3, 2005
|
Thu, Feb 3, 2005
|
Thu, Feb 3, 2005
|
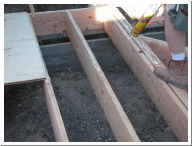
| First they put down the adhesive, then they nail the T&G plywood in place. |
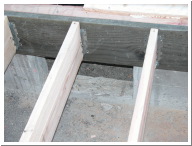
This hole was cut into the side of the foundation to allow for access to the enclosed area under the extended part of the living room. |
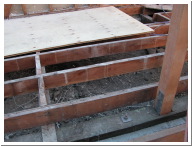
I had the vertical post on the right removed as that would have blocked the view of the staircase. They reinforced the joists above to compensate. |
Thu, Feb 3, 2005
|
Thu, Feb 3, 2005
|
Thu, Feb 3, 2005
|
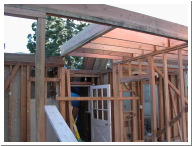
| Notice how the 9' ceiling runs into the 8' ceiling to the left. |
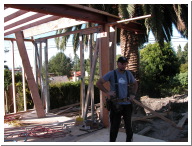
Rich Wright, the general contractor. |
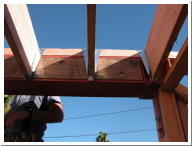
The steel beam is filled in with wood so it can be nailed to. |
Thu, Feb 3, 2005
|
Thu, Feb 3, 2005
|
Thu, Feb 3, 2005
|
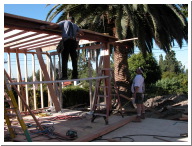
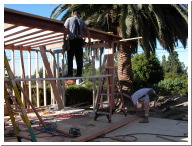
| The beam on the floor needs to be fit into the steel beam space. |
|
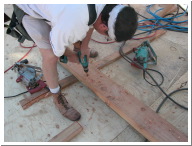
Drilling holes for the metal bolts sticking out of the steel beam. |