 Tue, Apr 12, 2005 |
 Tue, Apr 12, 2005 |
 Wed, Apr 13, 2005 |
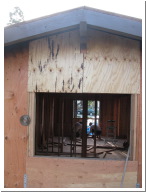
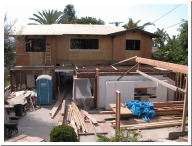
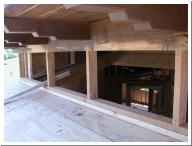
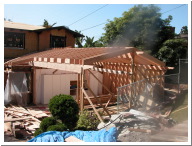
| Standing on the roof looking into the master bathroom window. | It's all starting to come together. | I came home and the garage was gone. |
 Thu, Apr 14, 2005 |
 Thu, Apr 14, 2005 |
 Fri, Apr 15, 2005 |
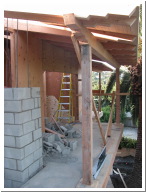
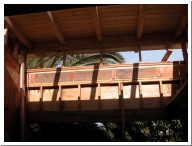
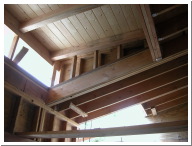
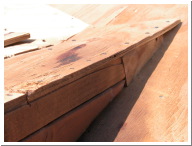
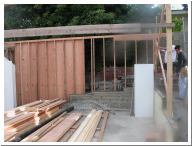
| The new garage beam is in place. It's about 1 to 2 feet above the old ridge height in order to get the roof to end at the correct wall height at the end of the rafters. | See how the grading goes up in the corner and down on both sides. We may have to lower the grade so you don't hit your head on the rafter tail at the corner. | The shed dormer is framed out in the master bedroom. |
 Fri, Apr 15, 2005 |
 Fri, Apr 15, 2005 |
 Fri, Apr 15, 2005 |
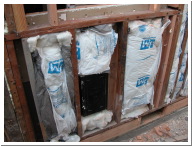
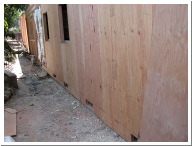
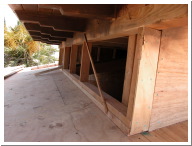
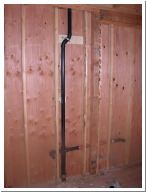
| The north side is being insulated. Behind the wainscoting in the bathroom is a Thermador heater I never knew about. I wonder if it still works. | The window flashing is being put into place. The large beam going through the front door is the header beam for the front of the garage over the garage door. | |
 Fri, Apr 15, 2005 |
 Fri, Apr 15, 2005 |
 Fri, Apr 15, 2005 |
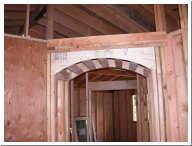
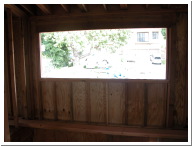
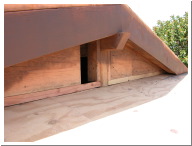
| The side of the shed dormer. | An arch was put into the passageway from the master bedroom to the bath and closet. It will have to come out. There are no arches in the structure. | This window above the stairs will have to be resized. It was not done according to the window schedule but according to the elevation drawings. |
 Sat, Apr 16, 2005 |
 Sat, Apr 16, 2005 |
 Sat, Apr 16, 2005 |
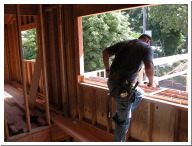
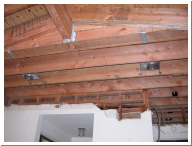
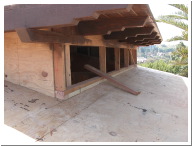
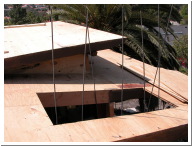
| Rich is increasing the height from 40" to 48". The plan elevation showed all of the windows the same height but the correct number to use would have been the window schedule. | The first electrical work starts. | Notice all of the vents. We need 1 square foot of venting for every 150 square feet of first floor coverage. |
 Sat, Apr 16, 2005 |
 Sat, Apr 16, 2005 |
 Sat, Apr 16, 2005 |
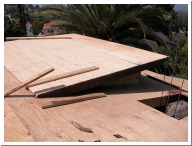
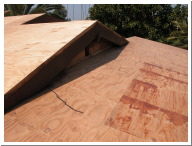
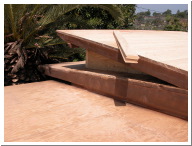
| Looking south at the master bedroom shed dormer. | The shed dormer from above. | A nice, tight fit at the corners. |
 Sat, Apr 16, 2005 |
 Sat, Apr 16, 2005 |
 Sat, Apr 16, 2005 |
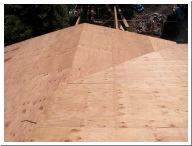
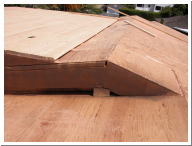
| Second story, north side. | A close-up of the second story, north side roof. | See how all of the pieces are trimmed down to form the corner. |
 Sat, Apr 16, 2005 |
 Sat, Apr 16, 2005 |
 Sat, Apr 16, 2005 |
| Chimney and shed dormer. | South side of the dormer. | This was a very complex roof to build. Look at all of the angles and pieces that have to come together. |
 Sat, Apr 16, 2005 |
 Sat, Apr 16, 2005 |
 Sat, Apr 16, 2005 |
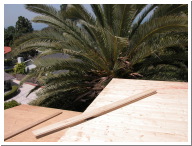
| The roof ends in the palm tree. | Front of the shed dormer looking north. | The painters came in and stained the T&G today. |
 Tue, Apr 19, 2005 |
 Tue, Apr 19, 2005 |
 Tue, Apr 19, 2005 |
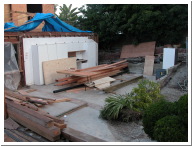
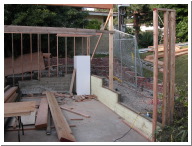
| Starting to rebuild the garage walls. There was wood rot and termite damage. | The garage roof takes shape. The roof was simplified so that the front patio overhang flowed into the garage roof at the same elevation. This required the garage ridge to be raised about 18". | Sink plumbing in the master bathroom. |